
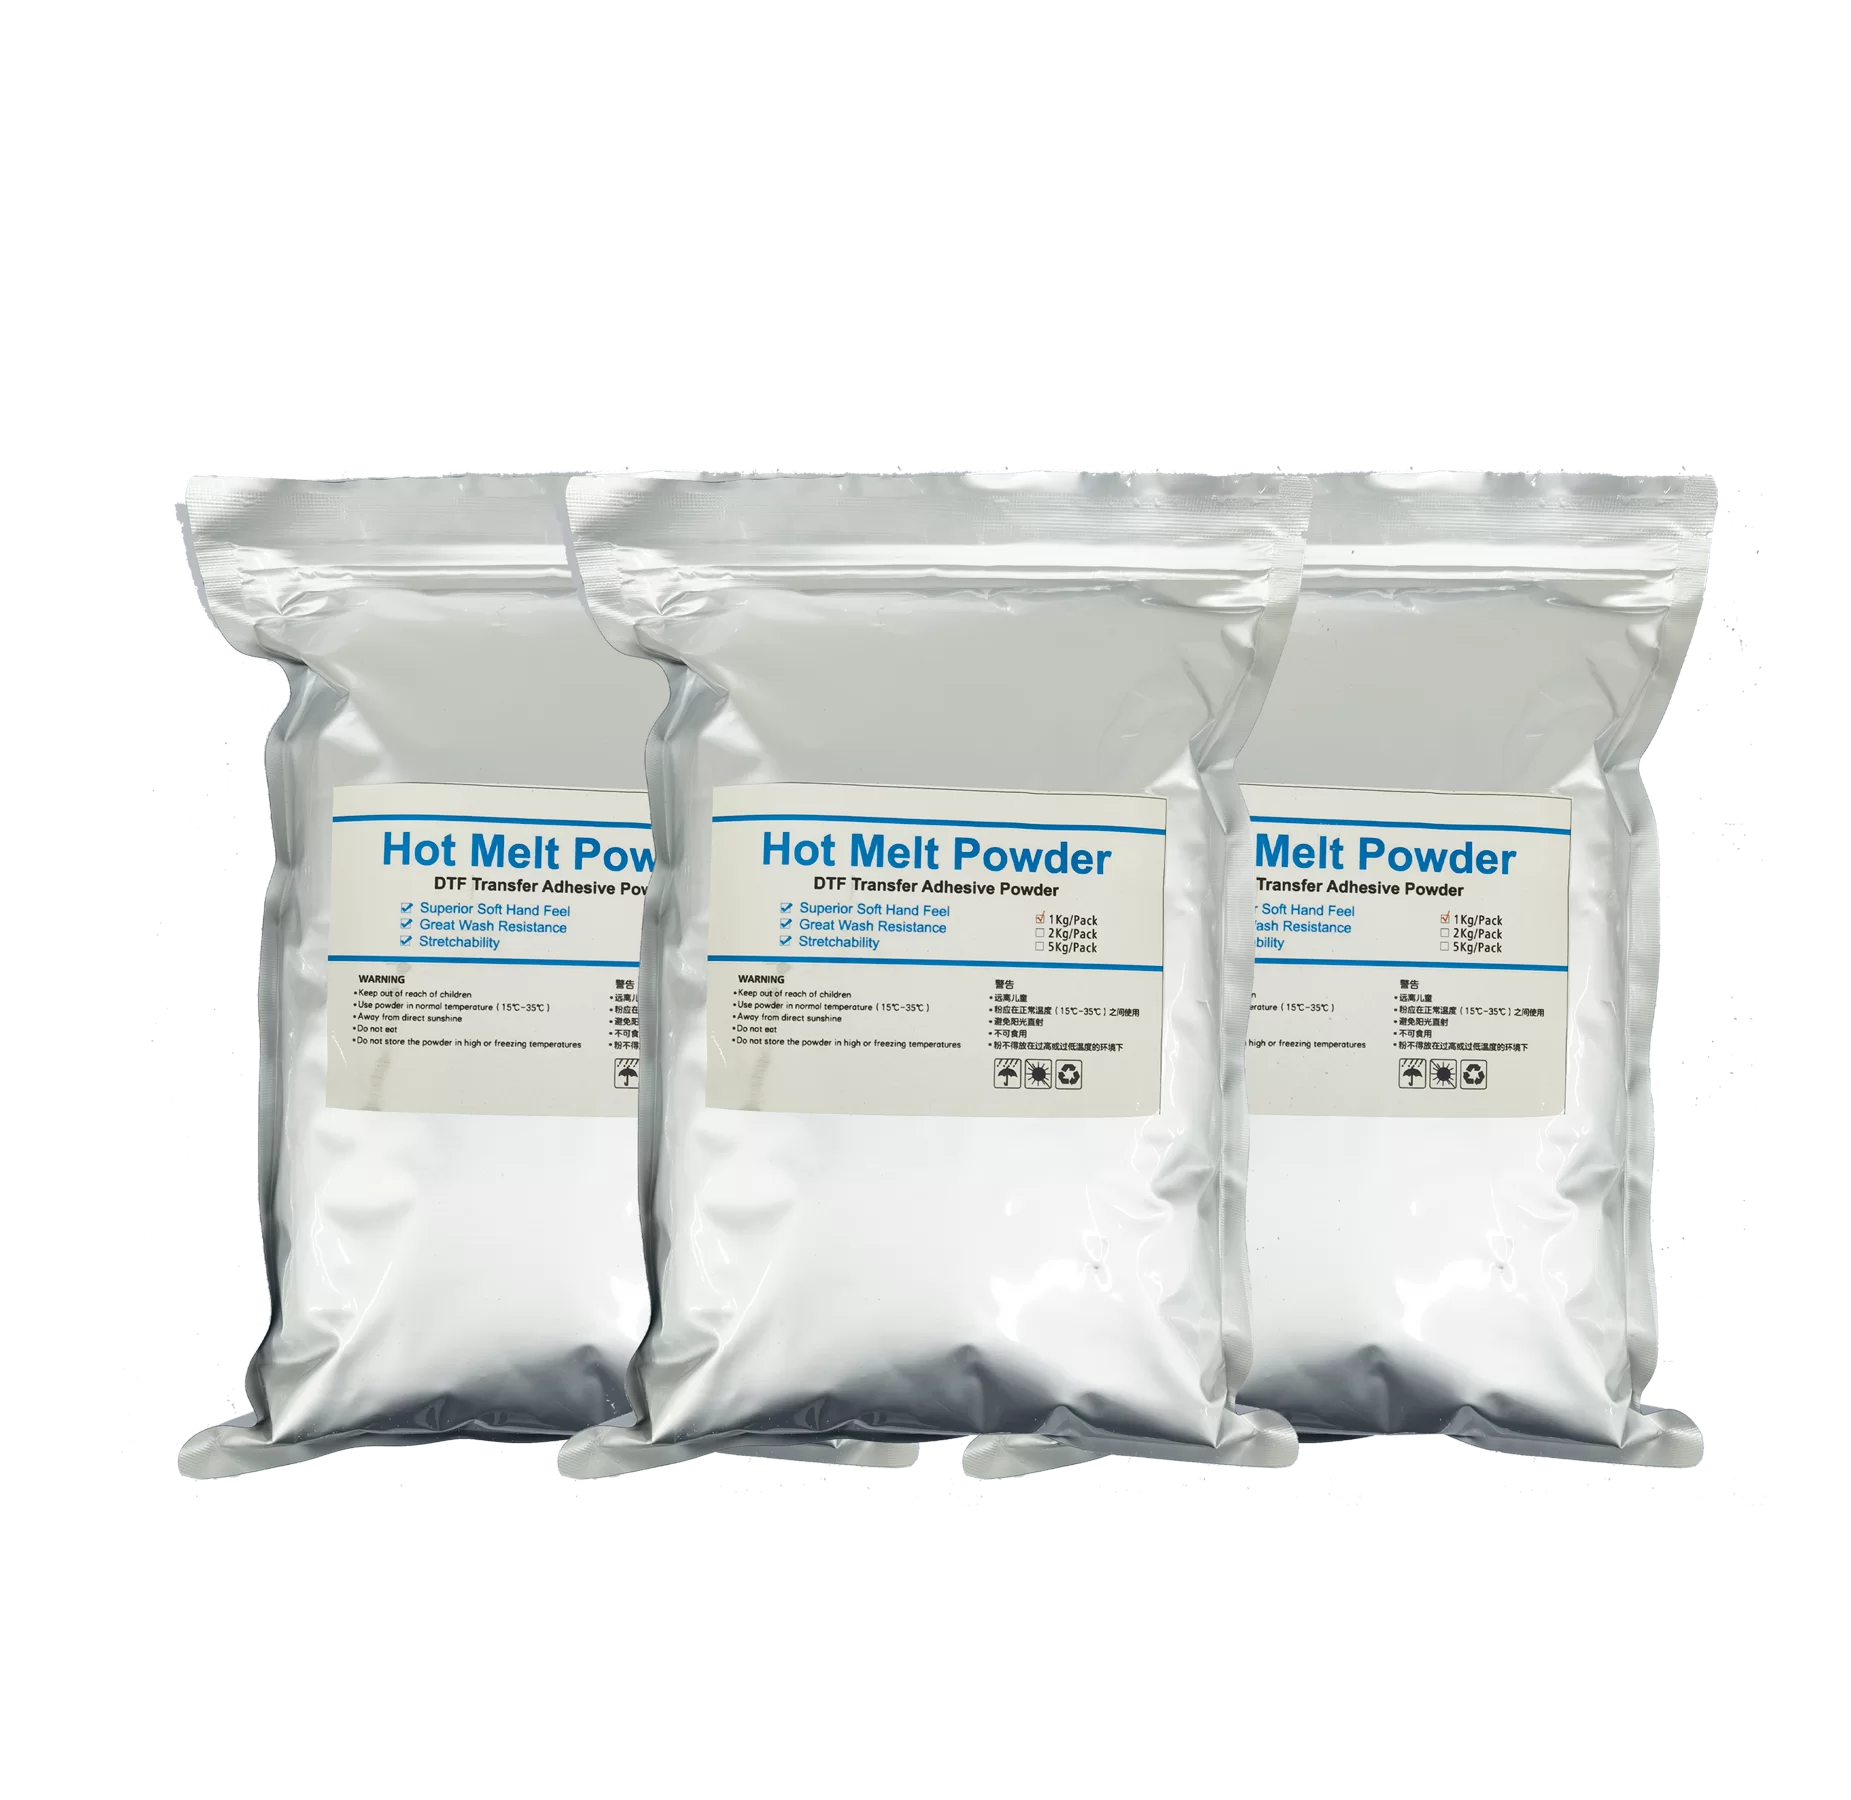
Curing is the step where your DTF hot melt powder stops being a loose granular coating and becomes the bond that holds your print to fabric through 30, 40, or 50+ wash cycles. Get it wrong and your transfers peel. Get it too hot and the powder yellows, the film puckers, or the print turns brittle.
This guide covers what actually happens during curing, the temperature and time ranges that work for TPU-based DTF powder, how to spot under-curing and over-curing before you ship, and the simple tests that confirm your cure is right.
What Happens When DTF Powder Cures
DTF hot melt powder is a thermoplastic polyurethane (TPU) adhesive. It is not a glue that dries — it is a polymer that melts, flows, and re-solidifies into a continuous bonding layer.
When you apply heat:
- The powder granules soften and melt — individual particles lose their shape and merge into a liquid-like film.
- The molten TPU flows into the ink layer — it encapsulates the printed pigments and creates a mechanical interlock with the film's release coating.
- On cooling, the polymer re-solidifies — it forms a flexible, elastic bonding layer ready for heat transfer to fabric.
A correctly cured powder sheet should look glossy and uniform, not grainy or chalky. The surface should feel smooth, not sandy. These visual cues are your first quality check before the heat press even touches fabric.
Curing Temperature: The Working Range for TPU Hot Melt Powder
Most TPU-based DTF powders melt and flow effectively between 130°C and 160°C (266°F–320°F). The exact working temperature depends on the powder formulation — lower-melt grades activate at the bottom of that range; higher-melt grades need the upper end.
| Powder Type | Typical Melt Onset | Recommended Curing Range | Notes |
|---|---|---|---|
| Standard TPU (general purpose) | ~110–120°C | 140–160°C | Widest compatibility; most common grade |
| Low-melt TPU | ~90–100°C | 130–145°C | For heat-sensitive fabrics; softer hand feel |
| High-elasticity TPU | ~120–130°C | 150–165°C | Sportswear / stretch fabrics; firmer bond |
These are industry-typical ranges based on published TPU adhesive data sheets. Your specific powder's optimal curing temperature should come from the manufacturer's TDS (Technical Data Sheet) or from your own controlled testing with your equipment.
The most common production mistake is setting a single temperature and assuming it works for every powder batch. Temperature calibration drifts. Thermocouples age. The number on your heat press display and the actual surface temperature at the platen can differ by 5–15°C. Verify with an infrared thermometer or surface probe before trusting the display.
Curing Time: How Long Is Enough
Curing time depends on three variables: temperature, powder coverage density, and your curing method.
Minimum Time Guidelines
| Curing Method | Typical Time | Notes |
|---|---|---|
| Heat press (contact) | 90–180 seconds | Direct platen contact; fastest heat transfer |
| Tunnel dryer (convection) | 2–4 minutes | Airflow-based; time depends on belt speed and tunnel length |
| Curing oven (batch) | 3–5 minutes | Batch loading; time includes ramp-up from cold start |
These are starting points. The correct time for your setup is the shortest duration that produces a fully melted, glossy powder surface with no residual graininess.
The Coverage Factor
More powder = more material to melt = longer cure time. A heavy powder application for thick fabrics or dark garments needs more dwell time than a light dusting for thin cotton. If you change your powder shaker setting or switch between light and heavy coats, re-validate your cure time.
The Real Test: Not Time, But Result
Time is a proxy. The real question is: has the powder fully melted and flowed? If the surface still looks matte or powdery after your standard cycle, increase time or temperature. If it looks glossy and smooth but the film has started to shrink or distort, you are over-curing.
Curing Methods: Heat Press vs Tunnel Dryer vs Oven
Heat Press Curing
The most common method for small-to-medium production. The printed film goes onto the lower platen, powder side up. The heated upper platen hovers just above the powder — it should not contact the powder directly, or the molten TPU will stick to the platen and ruin the transfer.
- Use a silicone or Teflon sheet between the platen and the powder to prevent sticking.
- Do not use pressure during curing. This is not the transfer step. Pressure during curing flattens the powder before it melts and can cause uneven flow.
- Keep the platen gap at 2–5mm above the powder surface.
Tunnel Dryer Curing
Preferred for continuous production. The printed film passes through a heated tunnel on a conveyor belt. Advantages: consistent dwell time, hands-free operation, even heat distribution.
- Belt speed and tunnel temperature must be calibrated together. Faster belt = higher temperature needed to deliver the same total heat.
- Check temperature at multiple points along the tunnel — hot spots or cold zones create uneven curing across the film width.
- Dust and powder particles can accumulate on the belt and transfer to subsequent sheets. Clean belts regularly.
Batch Oven Curing
A curing oven (not a kitchen oven — industrial convection ovens with controlled airflow) can cure multiple sheets at once. This is slower per sheet but works for batch production.
- Air circulation matters. Powder near the heating element cures faster than powder furthest from it. Rotate tray positions if you see uneven results.
- Ramp-up time counts. If the oven door opens between batches, the internal temperature drops and the first minute of your timer is spent recovering — not curing.
Under-Curing: Signs, Causes and Consequences
Under-cured powder looks and feels wrong. Here is what to check:
| Sign | What It Looks Like | Root Cause |
|---|---|---|
| Grainy / sandy surface | Powder particles still visible; surface not glossy | Insufficient temperature or time |
| Powder rubs off | Dry powder falls away when you run a finger across the sheet | Powder never reached melt flow point |
| Patchy gloss | Some areas glossy, others matte | Uneven heat distribution |
| Transfer peels clean off fabric | The entire print lifts after pressing; no residue on fabric | Powder did not bond to ink layer |
| Poor wash durability | Print cracks or flakes after 2–5 washes | Partial melt — some particles bonded, others didn't |
Under-curing is the most common cause of DTF transfer failures in production. The frustrating part: an under-cured sheet can look almost right. The powder might look slightly glossy in most areas. But the partial melt leaves weak points that become visible only after washing.
Over-Curing: When Heat Becomes the Problem
Over-curing is less common than under-curing but equally destructive:
| Sign | What It Looks Like | Root Cause |
|---|---|---|
| Yellowed or browned powder | The TPU changes color; white powder turns cream or tan | Thermal degradation of the polymer |
| Film shrinkage | PET film puckers, curls, or distorts | Film exceeded its heat tolerance |
| Brittle transfer feel | The cured powder feels stiff, not flexible | Polymer chains degraded; elasticity lost |
| Ink bleeding or color shift | Printed colors look faded or blurred after curing | Excessive heat drove ink solvents or affected pigment stability |
| Sticking to the platen or sheet | Powder adheres to the protective sheet and tears away from the film | Melt temperature exceeded; TPU became overly tacky |
Yellowing is the most visible early warning. If your white powder comes out of the curing cycle with a cream tint, you are running too hot — or too long — and degrading the TPU.
How to Test If Your Powder Is Properly Cured
You do not need a lab to verify your cure. These three tests take minutes and catch problems before a production run:
1. Visual Inspection
The powder surface should be uniformly glossy, with no visible individual particles. Tilt the sheet under light — a properly cured surface reflects evenly. Matte patches or graininess = under-cured.
2. The Stretch Test
After curing and cooling, stretch the film gently in both directions. The powder layer should stretch with the film without cracking or separating. If the powder layer breaks into flakes or the bond to the film releases, the powder did not fully melt and flow.
Citing the practical testing methodology from Mark Vasilantone's article on curing DTF adhesives (Vastex International, 2026), a properly cured adhesive layer should exhibit uniform elasticity and should not separate from the carrier film under moderate tension [1].
3. The Wash Test (The Only Test That Matters)
Press a test transfer onto fabric using your standard heat press settings. Wash it. Then wash it again.
- After 1 wash: The transfer should look unchanged. Any peeling, edge lift, or cracking = curing failure.
- After 5 washes: Some very minor edge softening is acceptable on heavy fabrics. Significant cracking, flaking, or color loss = the powder bond was incomplete.
- After 10+ washes: This is the durability benchmark. Transfers that survive 10+ wash cycles without degradation had a proper cure.
As Kjell Karlsson notes in his troubleshooting guide on DTF powder adhesion failure (PrintingTLDR, 2026), the same symptom — powder not bonding — can trace back to multiple root causes, and jumping to conclusions without systematic testing wastes both time and materials [2].
Matching Powder Grade to Fabric and Curing Conditions
Your powder choice affects your curing window:
| Fabric Type | Recommended Powder Characteristic | Curing Consideration |
|---|---|---|
| Cotton | Standard TPU, medium melt point | Cotton tolerates higher temperatures; standard 140–160°C works well |
| Polyester | Low-melt TPU preferred | Polyester can scorch or dye-sublimate at high heat; stay at 130–145°C |
| Cotton-poly blends | Standard TPU | Test on the polyester component — it is the limiting factor |
| Stretch fabrics (spandex/elastane) | High-elasticity TPU | Needs full cure for bond strength but avoid excessive heat that damages elastic fibers |
| Dark / heavy fabrics | Medium-coarse powder, heavier application | Longer cure time needed for thicker powder coverage |
If you print across multiple fabric types, you may need two powder grades — one standard for cotton and one low-melt for polyester — rather than compromising with a single powder that underperforms on both.
The particle size of the powder also interacts with curing. Coarser powders (closer to 170 μm) need slightly more dwell time for full melt compared to finer grades (closer to 80 μm). For more on this, see our guide to DTF powder particle size and fabric matching.
What to Ask Your Powder Supplier About Curing
Before committing to a bulk powder order, get clear answers on curing from your supplier:
- What is the recommended curing temperature range for this specific grade? A range like "140–160°C" is actionable. A vague answer like "standard DTF temperature" is not.
- Do you have a TDS (Technical Data Sheet) with melt flow data? The TDS should list melt onset temperature, recommended processing window, and any known compatibility limits.
- Has this batch been tested for curing consistency? Ask whether the supplier runs internal cure tests per production batch and whether they can share batch-specific parameters.
- What fabric types has this powder been validated on? Cotton-only validation is different from validation across cotton, polyester, blends, and stretch fabrics.
- Can you supply a small test quantity before a full production order? Running your own cure test on your own equipment with a sample quantity is the only way to confirm the powder works in your specific setup.
ChromaBind carries TPU hot melt powder in ep005 and ep001 grades (80–170 μm) across multiple pack formats — from 1 kg sample packs to 25 kg bags and full pallet loads. Curing parameter confirmation and batch-specific TDS are available through the quotation process.
Source References
[1] Vasilantone, Mark. "Curing of Direct-to-Film Adhesives." Vastex International, March 2026. https://www.vastex.com/Articles/KK-0521_Curing_of_Direct-to-Film_Adhesives.php
[2] Karlsson, Kjell. "DTF Powder Not Sticking: Causes & Fixes." PrintingTLDR, June 2026. https://printingtldr.com/dtf-powder-not-sticking/